
Organization Administrators and Class Administrators have permissions to add student users.
Top tip: If you are uploading your students ahead of the next academic year please choose the current year, as they will automatically be moved up ahead of the academic year e.g. August. We also recommend that classes are uploaded one at a time.
You can add students individually, or in bulk. New students cannot share usernames with either current or archived students. Reusing the username will update the existing student’s details. Please see editing students to update current ones, and archiving students for steps to restore archived students.
Adding students individually
- Go to My Organization.
- Click the Students tab.
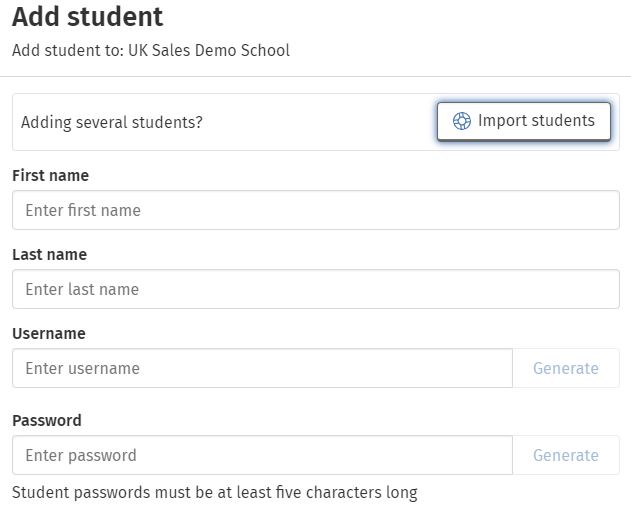
- Select Add Students.
- Fill in the mandatory first name and last name fields. You can then either choose a username and password for the student, or ask Oxford Reading Buddy to create one for you by clicking Generate.
- Click Next.
Oxford Reading Buddy student upload - Select the student’s year group from the dropdown menu and click Add student.
- Click Generate Sign In card and then Download Sign In card to download the student’s login details.
- Click Done to confirm the addition of this student.
- Your student will now be visible in the Students tab. You may need to refresh your browser.
- You can now add your student to a class.
Adding students in bulk
Top tip: We recommend that you upload classes individually, as this will make it easier for you to download and distribute Sign In cards.
- Go to My Organization.
- Click the Students tab.
- Select Add Students.
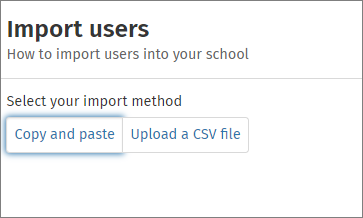
- Click Import students.
- Choose your method of uploading students: Copy and paste or Upload a CSV file. Click on each option for an overview to help you decide which option suits you best.
Your students are now ready to start reading. Students have access to the Coaching eBooks, wider eBook library and quizzes appropriate to their Oxford Reading Level.