
Organization Administrators, Class Administrators and Teacher users all have permissions to create classes.

Top tip! We recommend that you create classes as part of the student import process. If you did not create your classes in the import process, follow the steps below. We recommend that classes are uploaded one at a time.
To create classes:
- Go to My Organization.
- Click the Classes tab.
- Click Create a class.
- Enter a unique class name and click Next. Please only include alpha-numeric values*.
- Select the teachers you wish to add to the class and click Next.
- Select the students you wish to add to the class and click Next.
- Review the details of your class and click Create a class.
- You will see your class in the Classes tab. You may need to refresh your browser.
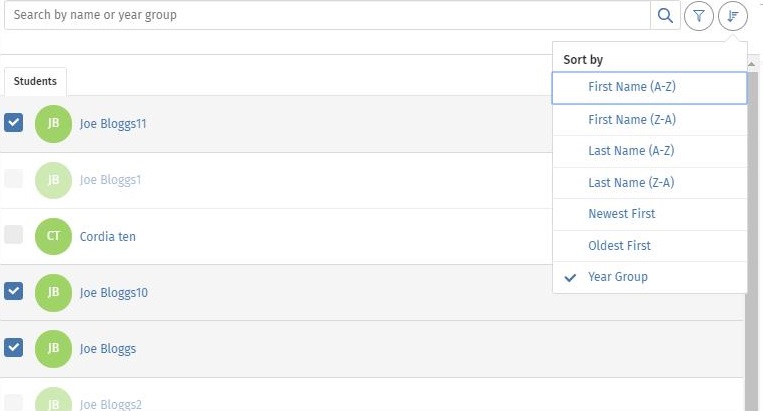
To sort classes:
- Next to the ‘Search by name’ bar, click the sort by icon.

- A list of options will display in a drop-down.
- Click the option required and the list will sort accordingly.
*Please note special characters won’t be accepted when choosing a class name, this includes / ? < > ~ ; : = + * ^ % £ @ { ( $ & ! “ #.